Tiny British Sewing Bee Challenge 1: the Mending Challenge
Well, my lovely sister and I decided that just watching the sewing bee isn't good enough, so we thought we'd do our own. We get to pick our own challenges (because that way we can make things we wanted to anyway), and my brother-in-law has agreed to judge (my sister reassured me 'he knows we both have to win').
We've got three challenges planned:
- a mending challenge
- an alteration challenge
- a making-from-scratch challenge
The Mending Challenge
Now, let's start straight up with the facts: this is comfortably the worst piece of work I've completed since getting a sewing machine. I can confidently tell you that these shorts have, since the challenge, been relegated to the only-use-for-gardening-and-DIY section of my wardrobe. In the real sewing bee, it would have been my ticket out of the competition, and I feel something of a need to reassure myself by looking back at actually-quite-good-quality things I've made in the past.
However, it was a chance to practise a couple of different sewing techniques and thus at very least it's still worth blogging about!
The item of clothing I wanted to mend started out its life as a pair of blue/purple, slightly stretchy skinny trousers. I'm not that easy on clothes (read: I destroy everything I wear within a few months) and one of the many downsides of tight-fitting clothing is that it's more susceptible to wearing thin. In this case, the first thing to go was the knees. I stopped wearing the trousers but kept on wearing them until the day I wanted to go for a run and had no running shorts. Chopping these off at the knee took a matter of seconds, and finding a cloth belt to hold them up took hardly longer.
I started out with very good intentions, of course. I was going to hem the bottoms and add elastic to the waist and they would have been, if not a proper pair of knee-length running shorts, at least a respectable alternative. Unsurprisingly, however, I never quite got round to it and so I found myself, at the time of this challenge, with a pair of oft-used cut-off trousers with a straggly frayed edge and a new hole developing at the back.


Pretty messy looking!
Pinterest had already pointed me to some ideas for making them look respectable again. The hole could be patched using a patterned cloth that would show through and some embroidered detailing to bring it all together, like this:

The same patterned cloth could be used to create a decorative edge round the bottom, like this:

So far, so good. I started with the hole.
Step 1 was to cut off the fraying edges around the hole (which mostly just made it a much bigger hole).

Step 2 was to cut a slightly larger piece of the patterned fabric to cover the hole.
 |
| It's a cute fabric, don't you think? |
Step 3 was where things started to go a little bit wrong. The instructions I was following said to use iron-on mending fabric to fix the hole. However, the stuff they used was basically just a sheet of glue; cut the sheet to fit around the hole then iron the fabric piece over the top, so that the glue holds the patching fabric in place. The mending fabric I had, however, was an actual piece of fabric with glue on one side, so it needed to go over the top of the patching fabric rather than between the two layers, and be big enough to hold the patching fabric in place.
I wonder if that will actually make sense to anyone who wants to understand what I mean.
Anyway, the result was something that looked like this:

Annoyingly, though, I cut the mending fabric too small and it just came right off again:
 |
| The pretty colour is a piece of card I put under the hole to keep all the pieces in place |


Ta-da!
Did it work? Yes, in that there is no longer a hole. Yes in that there is a pretty patch on the other side. No, in that now there's an uncomfortable stretchless patch on the inside of my shorts now.
I didn't bother with the embroidery. I think by this point I was already growing suspicious that I wouldn't want to wear the silly shorts again...
Nevertheless, in true TV-show-competitor style, I did not give up at the first hurdle. Could I yet redeem myself with a second mend?
(Spoilers: the answer is no.)
Bravely I set forth to edge the bottom of the shorts in the same print I'd used for the patch. Step one was to cut two strips of patterned fabric to make the edging, better known as binding.
Now, here's a tip from the pros: when you're binding the edge of a garment, you want to cut the piece you use for edging on the bias, i.e. at a 45 degree angle to the direction of the threads. That basically means that the threads in the binding are criss-crossy rather than up-and-downsy, which means that the completed edge will have a bit of stretch to it (and if the edge is not straight, that you can stretch the binding around the curves of the pattern as you go. Not relevant here.)
 |
| Maybe this will make more sense? |
Of course, I thought this through and concluded it would be too much trouble to cut the fabric on the bias, so I cut it straight. Rookie error #1. I cut the pieces to exactly the length needed to go round, which means I didn't leave any seam allowance to sew the ends together. Rookie error #2. The second error didn't matter so much because in any case I hadn't thought of sewing the ends together.
So I pinned it round bottom edge of the shorts, right sides together, binding on the outside, and sewed it down on the very edge.

Then I folded it down over the seam, ironed, folded in the other edge of the binding, ironed, folded the whole binding it half so that the other edge sat on the inside edge of the shorts, ironed again and pinned.


Then back to the machine to sew that edge up.

Ideally, the seam would then show on the outside of the garment on the exact edge of the outside bit of binding. Instead it ended up a bit all over the place:


And as previously mentioned at no point had I actually sewn the ends together:
 |
| Not my proudest moment. |
All in all, I wasn't particularly impressed with my own mending challenge. It also felt like a lot of faff for a garment that, at the end of it, wasn't particularly wearable anyway. I don't think fabrics these days are meant to last, and the hole I fixed was only the first of many more on their way. Having said that, it was my first attempt at binding and possibly a good idea not to have tried it on a new garment.
I have worn the shorts again, once, for gardening. I won't be running in them again, that's for sure!
----------------------------------------
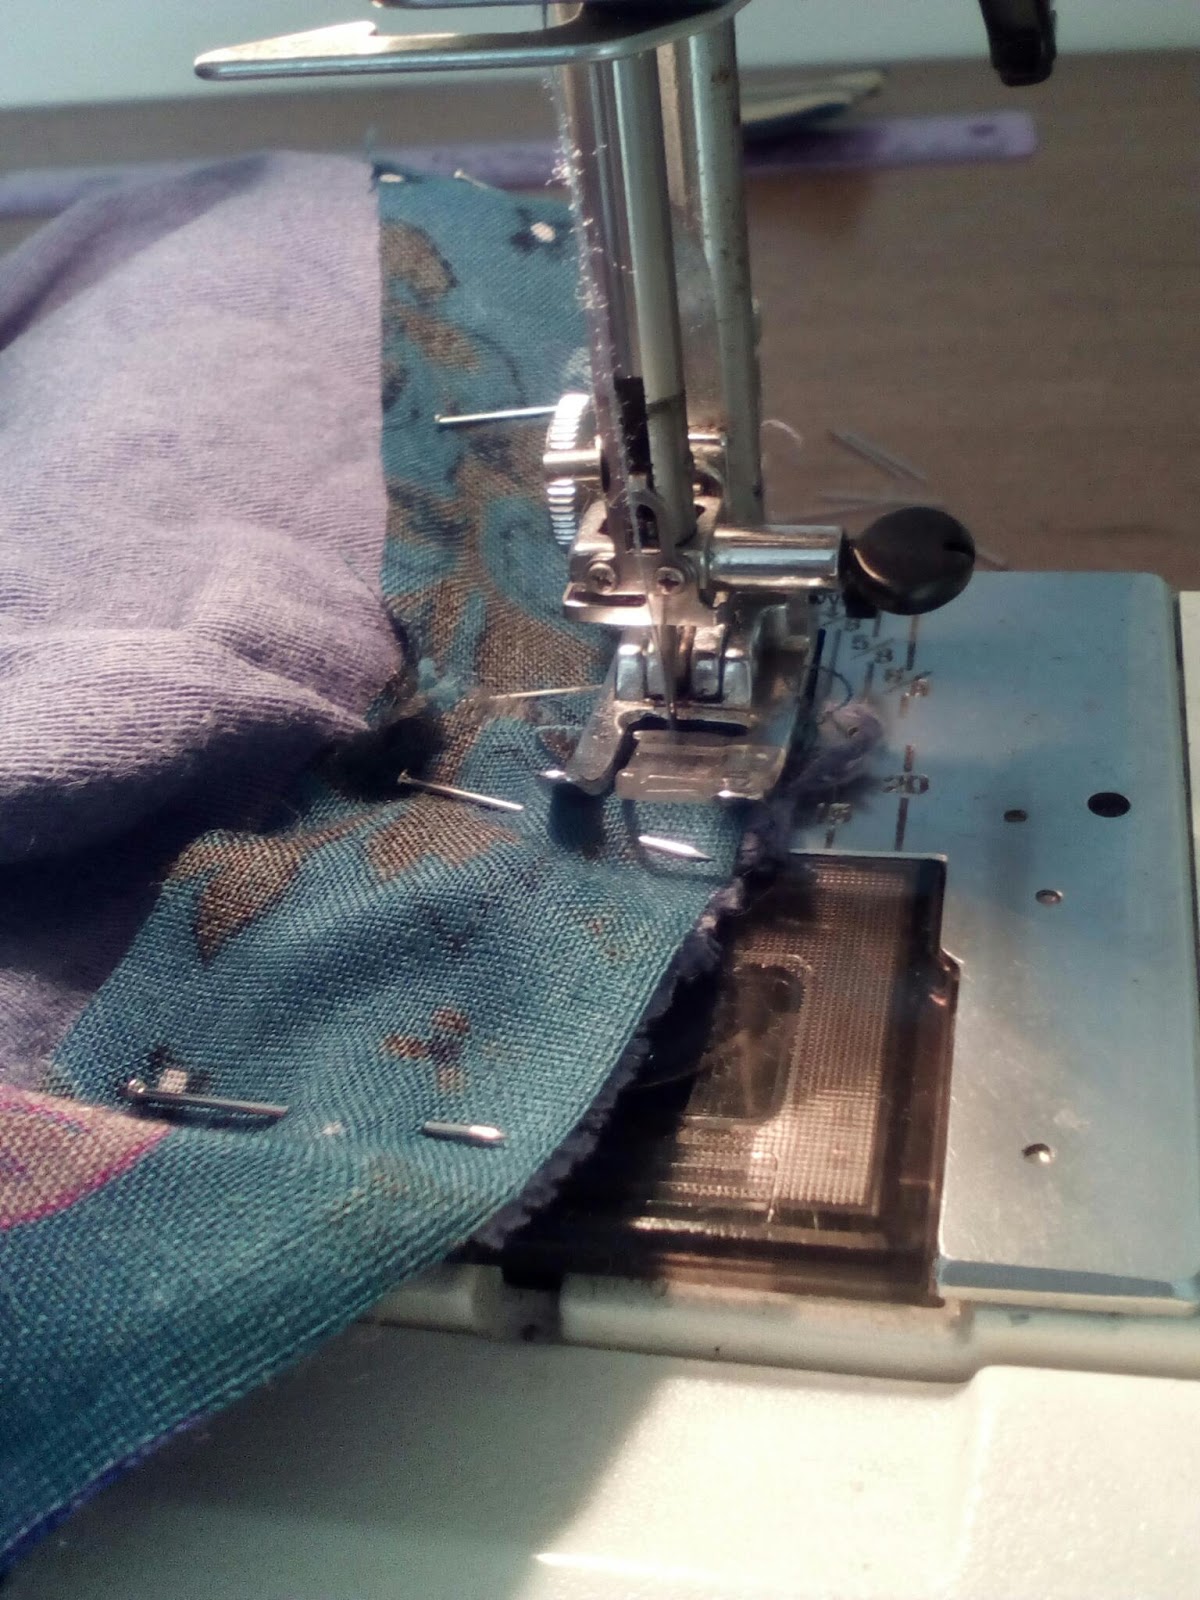
A light note to end on: I got a pin stuck in my machine at one point.
 |
| Sticking out from under the roller foot if you can't see it! |
 |
| #proudsewingmoments #gladnothingbroke |

Comments
Post a Comment